TL;DR
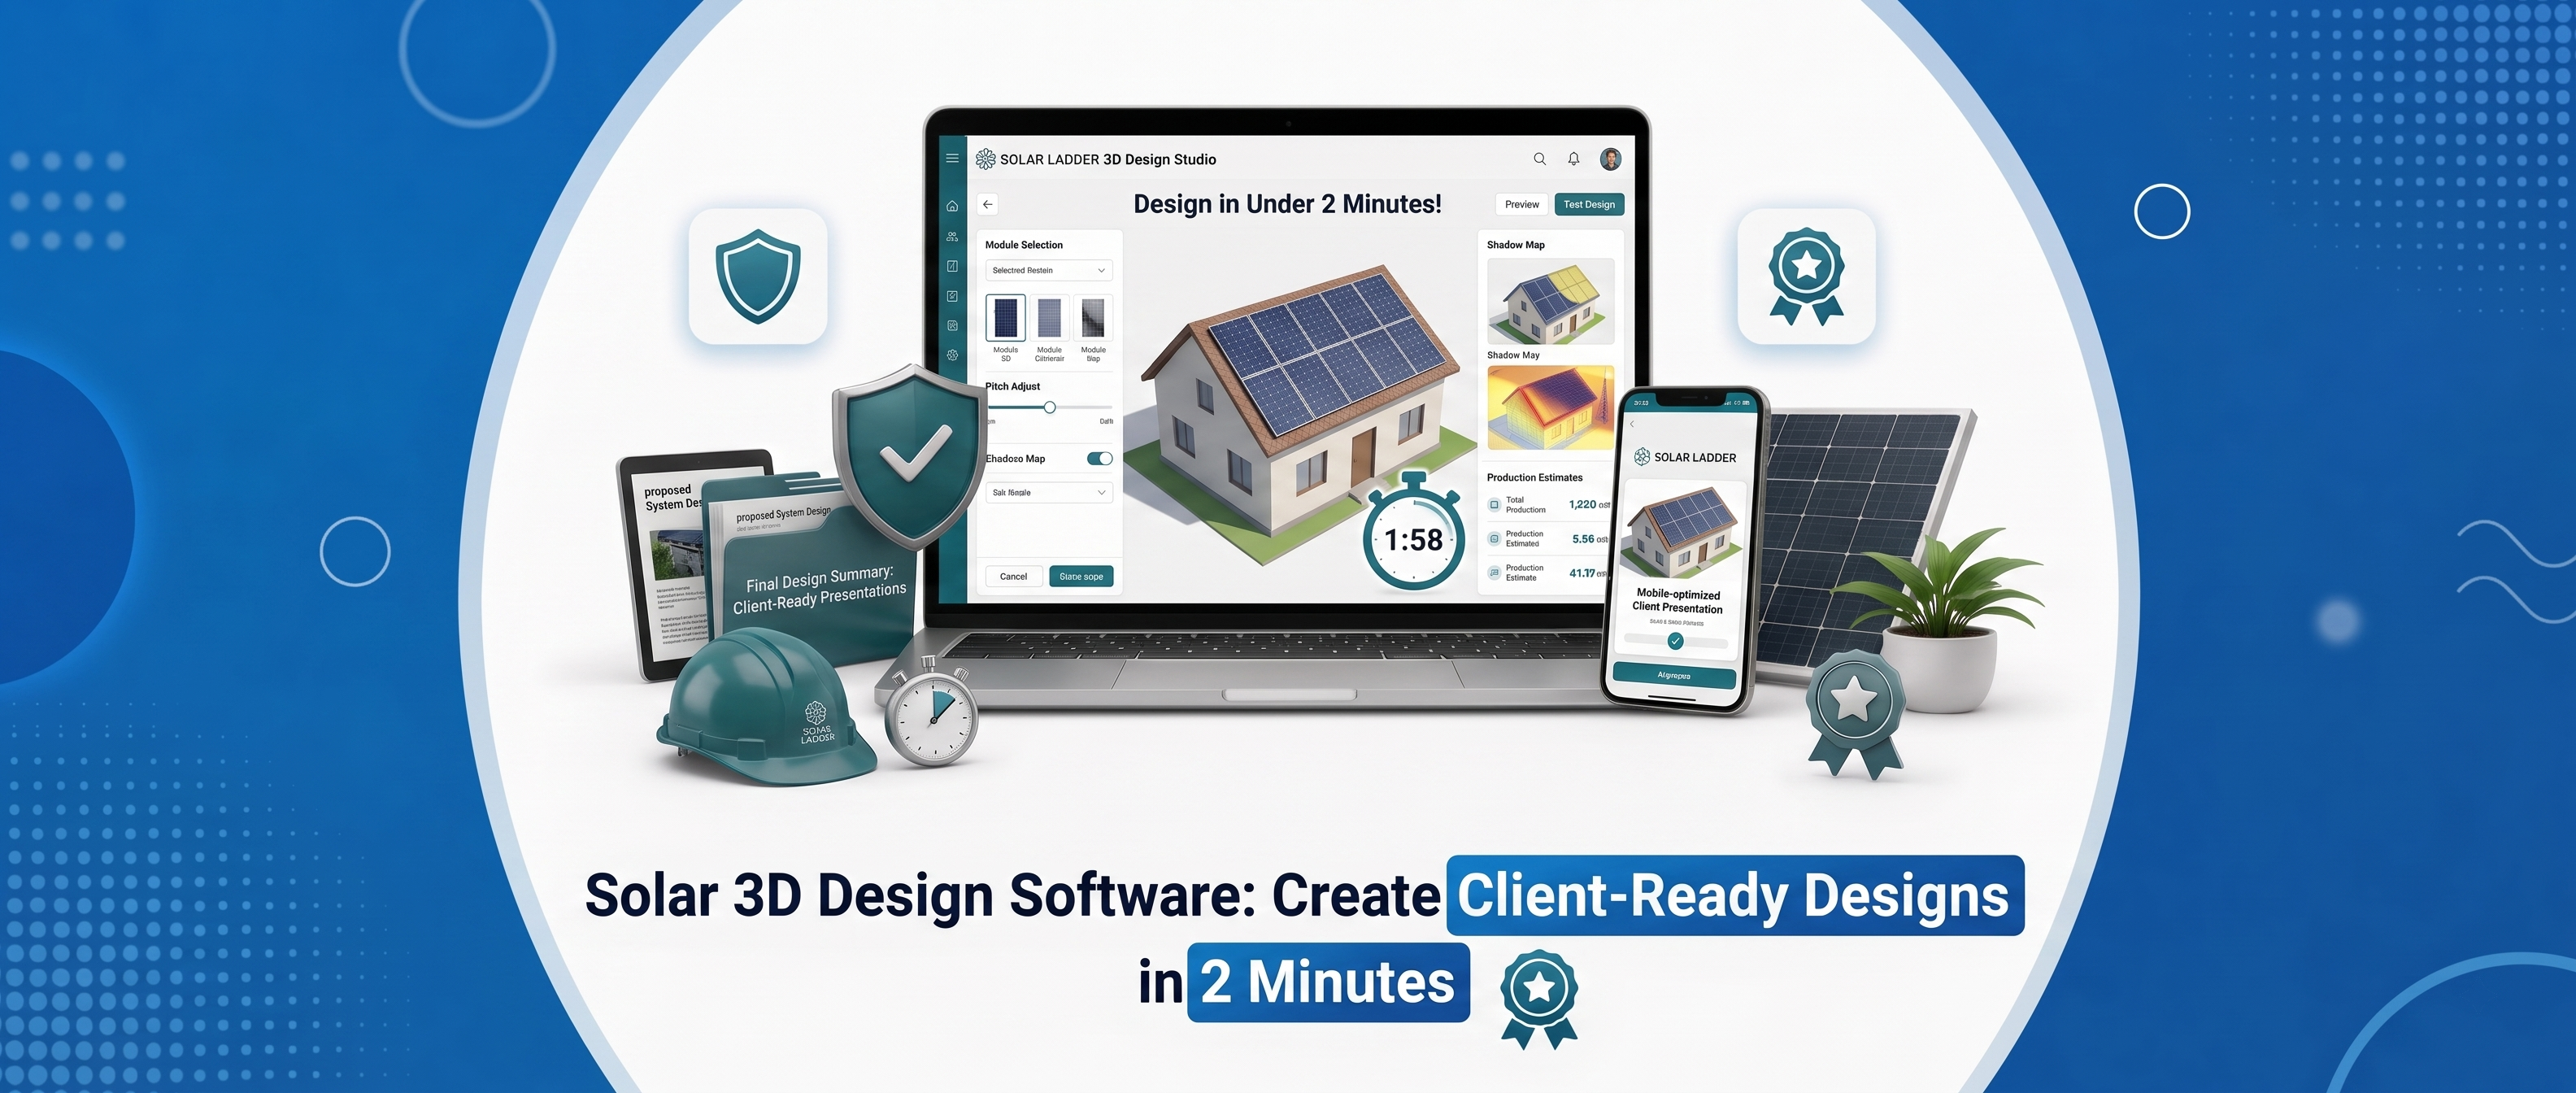
Solar companies lose deals when designs and proposals take days to deliver. Modern solar 3D design software solves this by helping EPCs create shading-analyzed, client-ready solar designs in under two minutes using satellite imagery, AI-powered roof modeling, and automated proposal generation. This guide explains the complete six-step workflow — from site survey to digital approval — and shows how integrated platforms like Solar Ladder help solar installers in India and South Africa shorten sales cycles, improve customer trust, and close more deals faster.
Picture this: you've just finished a site visit with a promising residential customer in Pune. They're interested, their roof is perfect, and the numbers work. But when they ask, "Can you show me what it will look like?" — you tell them you'll send something over in a few days. By the time your design lands in their inbox, they've already spoken to two competitors. Deal lost.
This is the exact problem that solar 3D design software was built to solve. The best solar sales teams in India and South Africa aren't waiting days to deliver designs. They're generating shading-analyzed, client-ready 3D solar designs in under two minutes — right there in the customer's driveway. This step-by-step guide walks you through the exact workflow so your team can do the same.
Why Most Solar Designs Take Too Long (And Cost You Deals)
Traditional solar design workflows are slow by design. A sales rep visits the site, takes manual measurements, sends notes back to the office, and a design engineer spends hours building a layout in CAD or a standalone tool. The finished design gets emailed as a static PDF — with no interactivity, no shading data, and no visual wow factor. The customer has gone cold by then.
The numbers tell the story. According to the International Energy Agency (https://www.iea.org/reports/solar-pv), solar adoption is accelerating globally, and competition among installers is intensifying. In a crowded market, the company that delivers a professional, visual, data-backed design first almost always wins the deal. Speed is a competitive advantage.
Modern solar 3D design software collapses the design-to-proposal timeline from days to minutes. Platforms like Solarladder's 3D design tool (https://solarladder.com/design) use satellite imagery, AI-assisted roof modeling, and automated shading analysis to produce a complete, client-ready design in under two minutes. No CAD skills required. No back-and-forth between sales and design teams. Just a fast, accurate, visually compelling output that customers can see and approve on the spot.
Here's the exact six-step process your team should follow every time.
1. Gather the Right Site Data Before You Open the Software
The quality of your solar 3D design depends entirely on the quality of your input data. Even the most advanced solar 3D design software can't compensate for missing or inaccurate site information. Before you touch the software, make sure you've captured the right data on-site.
What to Record During Your Site Visit
- Roof dimensions and usable area: Measure the total roof surface and identify any sections that are off-limits (skylights, vents, HVAC units).
- Roof orientation and tilt angle: South-facing roofs in India and north-facing roofs in South Africa capture the most sunlight. Record the compass orientation and pitch angle for each roof plane.
- Shading obstructions: Note the location and approximate height of trees, chimneys, neighboring buildings, water tanks, and any other objects that cast shadows on the roof.
- Electrical panel location and capacity: Confirm the existing electrical setup to ensure the proposed system can be connected without major upgrades.
- Customer's monthly electricity consumption: This drives the system size recommendation and the financial projections in your proposal.
Using digital site survey forms instead of paper checklists makes this step faster and more reliable. Solarladder's plug-and-play site survey forms let your team capture all of this data on a mobile device, with photos attached, so nothing gets lost between the site visit and the design session. Every field feeds directly into the design and proposal workflow.
2. Import the Site Address and Generate the 3D Roof Model
With your site data in hand, open your solar 3D design software and enter the property address. This is where modern platforms earn their keep. Instead of manually drawing a roof outline, the software pulls high-resolution satellite imagery and uses AI to automatically detect and model the 3D roof structure, including individual roof planes, ridges, valleys, and pitch angles.
What Happens Automatically
- The satellite image is loaded and the roof boundary is detected.
- Individual roof planes are identified and assigned pitch angles.
- The 3D model is rendered in seconds, ready for panel placement.
Your job at this stage is to review the auto-generated model against your site survey notes and make any corrections. If the satellite image is slightly outdated or the AI misread a roof edge, you can adjust the roof outline manually. This takes about 30 seconds in a well-designed tool. Once the model matches real-world conditions, you're ready for the most important step: panel placement and shading analysis.
This step alone saves hours compared to manual CAD modeling. Tools like Aurora Solar (https://www.aurorasolar.com/) pioneered AI-assisted roof modeling, and today's all-in-one platforms have brought the same capability into a broader business management context, so your design feeds directly into your CRM, proposal, and project workflow without any data re-entry.
3. Place Solar Panels and Run the Shading Analysis
Panel placement is where solar 3D design software delivers its most tangible value. You have two options: auto-layout or manual placement. Most experienced solar designers use a combination of both.
Auto-Layout: Fast and Accurate for Standard Roofs
Auto-layout fills the available roof area with panels automatically, respecting setback rules and avoiding obstructions you've marked. For a standard residential roof with minimal shading, this produces a near-optimal layout in seconds. You can set the panel model, wattage, and mounting configuration, and the software calculates the total system size and estimated annual output instantly.
Manual Placement: For Complex Roofs and Custom Designs
For roofs with multiple planes, irregular shapes, or significant shading obstructions, manual placement gives you more control. You can drag and drop panels onto specific roof sections, rotate them, and exclude areas that would underperform due to shading. This takes a few extra minutes but produces a more accurate and defensible design.
The Shading Analysis: Your Most Powerful Sales Tool
Once panels are placed, run the shading analysis. This is the feature that separates professional solar design software from basic layout tools. The shading analysis simulates the sun's path across the sky throughout the year and calculates how much shading each panel will experience in each hour of each month. The output is a color-coded heat map overlaid on your 3D design, showing exactly which panels are affected and by how much.
Why does this matter for sales? Because customers ask about shading. They point to the tree in their neighbor's yard and ask, "Will that affect my system?" With a shading analysis in hand, you can give them a precise, data-backed answer instead of a vague reassurance. That builds trust and accelerates approval.
Review the shading loss percentage for the overall system. If it's above 5-7%, consider adjusting panel placement to move panels away from the most heavily shaded zones. A few minutes of optimization here can meaningfully improve the system's projected performance, and your proposal's financial projections.
4. Generate the 360° 3D Preview for Your Customer
This is the moment that changes the sales conversation. Once your panel layout is finalized and the shading analysis is complete, generate the 360° 3D preview. This is a fully interactive, rotatable 3D rendering of the customer's actual roof with the solar panels installed, not a generic stock image, but their home, their roof, their system.
Why the 360° Preview Works So Well
Most customers have never seen a solar installation on their own home before they sign a contract. The 360° preview removes that uncertainty. They can see exactly how the panels will look from the street, from the side, and from above. They can see the panel layout, the spacing, and the overall aesthetic. For many customers, this is the moment they go from "interested" to "ready to sign."
The preview also serves a practical purpose. If a customer has concerns about the visual impact of the installation, a common objection, especially in premium residential markets, you can address those concerns in real time by adjusting the layout and regenerating the preview on the spot. This kind of responsiveness is impossible with a static PDF design sent days after the site visit.
How to Present the Preview During a Sales Meeting
- Open the 360° preview on your tablet or laptop and hand it to the customer.
- Let them rotate and explore the design themselves, interactivity creates engagement.
- Walk them through the key numbers: system size, estimated annual output, and shading loss percentage.
- Address any visual concerns by making live adjustments to the panel layout.
- Share the design digitally via a link or PDF so they can show it to family members who weren't present.
Solarladder's solar 3D design software generates this 360° preview as part of the standard design workflow, no extra steps, no separate rendering tool, no waiting. The preview is ready the moment your design is complete.
5. Attach the Design to a Branded Proposal in Under 1 Minute
A great design without a great proposal is a missed opportunity. The 3D design is the visual hook; the proposal is where you close the deal. The most efficient solar sales teams don't treat these as separate documents, they use a platform where the design output flows directly into the proposal.
In Solarladder, once your solar 3D design is complete, the system size, panel count, inverter specifications, and estimated annual energy output are automatically populated into the proposal template. You don't re-enter any data. You don't copy numbers from one tool into another. You simply review the auto-populated proposal, add your company branding, and include the financial projections.
What a Complete Solar Proposal Should Include
- 3D design visuals: The 360° preview and the shading analysis heat map, embedded directly in the proposal.
- System specifications: Panel model and wattage, inverter type, total system size (kWp), and estimated annual output (kWh).
- Financial projections: Total system cost, estimated monthly savings, payback period, and 25-year ROI.
- Company branding: Your logo, colors, contact details, and any certifications or warranties you offer.
- Next steps: A clear call to action, sign here, pay deposit, schedule installation.
With Solarladder's integrated proposal tool, this entire document is ready in under a minute. The result is a professional, branded proposal that looks like it took hours to produce, because the software did the heavy lifting. This is how solar companies in India and South Africa are winning deals that used to go to competitors with faster turnaround times.
6. Present, Revise, and Get Approval, All in One Session
The final step is where the workflow pays off. With your 3D design and branded proposal ready, you're in a position to present, handle objections, revise, and get approval, all in a single customer meeting. This is the gold standard for solar sales efficiency, and it's only possible with the right solar 3D design software.
Handling Objections With the Live 3D View
Common customer objections during a solar sales meeting fall into a few predictable categories: "Will it look okay on my roof?" "What about that tree on the west side?" "Can we fit more panels?" Each of these can be answered in real time using the live 3D view. Rotate the design to show the street-facing perspective. Run a revised shading analysis with the tree marked as an obstruction. Add a row of panels to the east-facing plane and show the updated system size and output. Customers who see their concerns addressed visually and immediately are far more likely to approve on the spot.
Getting Digital Sign-Off and Moving to Project Management
Once the customer is satisfied with the design, the approval process should be just as fast. Digital sign-off, whether via an e-signature on the proposal or a simple confirmation email, eliminates the back-and-forth of printing, signing, and scanning. In Solarladder, an approved proposal moves directly into the project management workflow. The project is created, the team is notified, and the installation timeline begins, all without any manual data transfer.
This end-to-end workflow, from site visit to signed approval, can happen in a single afternoon. Solar companies that have adopted this approach report significantly shorter sales cycles and higher conversion rates. The reason is simple: customers who see a professional, personalized design and a clear financial case have very little reason to delay.
How Solar 3D Design Software Fits Into Your Full Business Workflow
The six steps above describe the design-to-approval workflow. But solar 3D design software doesn't exist in isolation, it's most powerful when it's connected to the rest of your business operations. This is where standalone design tools fall short, and where an all-in-one platform like Solarladder creates a decisive advantage.
The Problem With Standalone Design Tools
Many solar companies use one tool for design, another for proposals, a third for CRM, and a spreadsheet for project tracking. Every handoff between tools is an opportunity for data to get lost, duplicated, or entered incorrectly. A panel count that changes during a design revision doesn't automatically update the proposal. A signed proposal doesn't automatically create a project record. The result is a fragmented workflow that slows down every team member and introduces errors that erode profit margins.
Platforms like Solargraf (https://www.solargraf.com/) and Aurora Solar (https://www.aurorasolar.com/) offer strong design and proposal capabilities, but they don't cover the full operational lifecycle of a solar business. Once the deal is signed, you're back to managing project execution, invoicing, and O&M in separate tools.
The All-in-One Advantage
Solarladder is built as a single platform that covers every stage of the solar business lifecycle. The solar 3D design software is one module in a connected system that includes:
- CRM: Track every lead, manage your sales pipeline, and monitor team productivity from a single dashboard.
- Proposal software: Generate branded proposals in under a minute, with 3D design visuals embedded automatically.
- Project management: Track every project from signed contract to commissioning, with workflows, stages, and team assignments.
- Invoicing and financial management: Issue invoices, track payments, and monitor project profitability without switching tools.
- O&M software: Manage ongoing operations and maintenance for your installed solar assets, with service tickets, schedules, and remote monitoring.
- Customer dashboard: Give customers real-time visibility into their project status, from design approval to installation completion.
When your solar design software is connected to your CRM, proposals, project management, and invoicing in one platform, every team member works from the same data. Sales reps, design engineers, project managers, and finance teams are all aligned, without a single WhatsApp message or email thread to coordinate them.
This is why more than 600 solar companies across India and South Africa trust Solarladder to run their operations. The platform has managed over 70,000 projects, and the teams using it consistently report faster sales cycles, fewer errors, and better customer experiences. Follow Solarladder on LinkedIn (https://www.linkedin.com/company/solarladder), Facebook (https://www.facebook.com/solarladder), and Instagram (https://www.instagram.com/solarladder) to see how solar companies are using the platform in the field. Start Creating Client-Ready Solar Designs in Under 2 Minutes
The solar companies winning the most deals in India and South Africa right now aren't the ones with the lowest prices or the most experience. They're the ones that show up to every customer meeting with a professional, personalized, shading-analyzed solar 3D design ready to present, and a branded proposal ready to sign. That's the competitive advantage that modern solar 3D design software delivers, and it's available to every solar sales team willing to upgrade their workflow.
The six-step process in this guide, from site data collection to digital approval, is repeatable, scalable, and fast. With the right platform, your team can execute it in under two minutes for every customer, every time. The result is shorter sales cycles, higher conversion rates, and customers who feel confident in their decision because they've seen exactly what they're buying.
Solarladder's solar 3D design software is built for exactly this workflow, and it's connected to every other tool your solar business needs to operate efficiently. If you're ready to see how fast your team can go from site visit to signed approval, get a free demo of Solarladder today (https://solarladder.com/) and experience the full design-to-proposal workflow for yourself. Or check out the 3D design tool directly (https://solarladder.com/design) to see what client-ready designs look like in under two minutes.
Frequently Asked Questions
No. Modern solar 3D design software is designed for solar sales reps and design engineers, not CAD specialists. Platforms like Solarladder use intuitive drag-and-drop interfaces, AI-assisted roof modeling, and automated shading analysis so that any team member can produce a professional design after a short onboarding session. Most users are creating client-ready designs within their first day on the platform.
Shading analysis accuracy depends on the quality of the satellite imagery and the precision of the obstruction data you input. Leading platforms use high-resolution imagery and sun-path simulation algorithms that are accurate to within a few percentage points of real-world performance. For the most accurate results, always mark shading obstructions manually during your site survey rather than relying solely on satellite data. According to the National Renewable Energy Laboratory (NREL) (https://www.nrel.gov/solar/), shading can reduce solar system output by 10-25% if not properly accounted for during design, making this step critical for both performance and customer trust.
Yes. Solarladder offers a mobile solar 3D design app that lets your sales reps generate designs directly from a smartphone or tablet during the site visit. This is the fastest possible workflow: visit the site, capture survey data, generate the 3D design, and present the 360° preview, all before you leave the customer's driveway. The mobile app syncs with the web platform, so designs created on-site are immediately available to the full team back at the office.
Aurora Solar (https://www.aurorasolar.com/) and Solargraf (https://www.solargraf.com/) are strong design-focused tools, but they're primarily built around the design and proposal stage of the sales process. Solarladder's solar 3D design software delivers comparable design quality while also connecting to CRM, project management, invoicing, O&M, and procurement in a single platform. For solar companies in India and South Africa that want to manage their entire business, not just their designs, Solarladder offers a more complete solution at a price point built for growing businesses, not enterprise accounts.
In Solarladder, an approved design and signed proposal automatically trigger the project management workflow. A new project record is created, team members are assigned, and the installation timeline begins, with no manual data entry. This seamless handoff from sales to operations is one of the most significant time-savers for solar companies managing multiple projects simultaneously. Tasks, reminders, and customer updates are all automated from the moment the deal is signed.